Well water sediment filter replacement is a ten-minute job that most people do wrong the first time: a cartridge that goes in too late, an O-ring that gets pinched, a housing cranked down with a wrench until it cracks. This page gives you the schedule, the procedure, how to pick a replacement cartridge by its dimensions rather than its brand, how to clean a spin-down screen, and when the housing itself needs replacing. For choosing the filter in the first place, see the well water sediment filter guide.
How often to replace a sediment cartridge
There is no fixed interval, because the right interval depends on how much the well sends up. Two rules together cover it.
The pressure-drop rule. A cartridge is done when it has loaded enough to cost you pressure. The University of Georgia's mechanical filtration bulletin says to replace or clean the cartridge "when there is a noticeable drop in water flow," and adds that the quantity and nature of the solids make it "difficult to accurately predict the time between cartridge replacements." Gauges turn "noticeable" into a number. One housing manufacturer's service note describes the method: record the inlet and outlet readings with a new cartridge (expect a 1 to 3 psi difference at flow), and change the cartridge when the difference has grown by another 5 to 7 psi. The same note adds that time overrides pressure drop in drinking water service, and uses six months as its ceiling.
The time rule. Even a cartridge that is not loaded should come out at a set interval, because a wet cartridge full of organic debris is a place bacteria grow. UGA's private well treatment overview puts it bluntly: "A filter with a spent cartridge may be worse than no filter at all." The Minnesota Department of Health's home water treatment sheet makes the same point for any treatment unit: unmaintained, it can make water quality worse.
For a 5 micron depth cartridge behind a spin-down screen on a typical well, those two rules land between three and six months. The things that shorten it:
- No spin-down ahead of the cartridge, so it takes the sand as well as the silt.
- A finer rating than the water needs (a 1 micron cartridge where 5 would do).
- A 10 in. housing where a 20 in. would fit.
- A new or recently serviced well still clearing fines, or a shallow well that gets turbid after rain.
- Oxidized iron or manganese reaching the cartridge; the fix is upstream, on the iron page, not a faster cartridge schedule.
Write the install date on the housing with a marker. It is the single most useful maintenance habit on a well.
Step-by-step: changing a cartridge
The order matters more than the speed. The sequence below follows a typical housing maker's replacement procedure and applies to any standard housing.
- Shut off the water. Close the inlet valve. If you have a three-valve bypass, open the bypass so the house keeps water.
- Relieve the pressure. Open a faucet downstream to bleed pressure, then close the outlet valve so the house plumbing cannot drain back through the housing. Press the pressure-relief button on the cap if it has one. A housing still under pressure is the usual reason a sump will not unscrew.
- Set a bucket and towel under the housing. The sump holds a quart or more of water.
- Unscrew the sump with the housing wrench, counterclockwise as you look up at it from below. If it is stuck, a second wrench on the cap or a pipe extension on the wrench handle gives leverage; do not hammer on it.
- Pull the old cartridge and note which end was up. Some cartridges have a gasketed end that must face the cap.
- Take out the O-ring. It sits in a groove at the top of the sump. Wipe it clean, inspect it for flat spots, nicks or stretching, and replace it if there is any doubt. A stretched O-ring is the most common cause of a drip after a change. Keep a spare with the cartridges.
- Clean and sanitize the sump. Wash it with a non-abrasive sponge. For a sanitizing rinse, the manufacturer's procedure is to fill the sump about one-third with water, add a tablespoon (30 ml) of plain household bleach, scrub, and rinse thoroughly. Make sure the O-ring groove is clean; a grain of sand there will leak.
- Lubricate the O-ring with a thin film of food-grade silicone grease and seat it flat in the groove. Petroleum products (petroleum jelly, pipe dope) swell and degrade the rubber.
- Insert the new cartridge over the standpipe in the cap or centered in the sump, the correct end up.
- Thread the sump back on clockwise until it stops, then hand-tight. Do not use the wrench to tighten. The O-ring makes the seal; the wrench only cracks the cap or crushes the ring.
- Purge the air. Open the inlet valve slowly while holding the pressure-relief button until water spits from it, then release. Open the outlet valve, close the bypass, and run the nearest cold tap until the sputtering stops and the water runs clear.
- Check for leaks right away and again after ten minutes. A weep at the thread usually means the O-ring moved; a weep from the cap means the housing may be cracked.
The CDC's guidance on home water filters adds one step most people skip: wear gloves while changing filters and wash your hands afterward, since a used cartridge is full of what it caught.
Choosing a replacement cartridge
A sediment cartridge is defined by four things, in this order: dimensions, micron rating, media type, and only then brand.
Dimensions. Residential housings take cartridges of a few standard sizes, defined by nominal length and outside diameter. If a cartridge fits the housing and seals at both ends, it works, regardless of who made the housing.
| Nominal size | Length | Outside diameter | Typical use |
|---|
| 10 x 2.5 in. | 10 in. (about 9-3/4 in. actual) | 2.5 in. | Single fixture, under-sink prefilter, small cabin |
| 20 x 2.5 in. | 20 in. | 2.5 in. | Low-flow whole house, longer run than 10 x 2.5 |
| 10 x 4.5 in. | 10 in. | 4.5 in. | Whole house, 3/4 to 1 in. main |
| 20 x 4.5 in. | 20 in. | 4.5 in. | Whole house, 1 in. main, most bathrooms, longest run |
The 4.5 in. sizes are the ones commonly called "big blue" after the color of the first widely sold housings; many makers now mold housings to the same dimensions. Measure your old cartridge rather than trusting the housing's label, because 10 in. cartridges in particular vary by a fraction of an inch between makers and a short one will bypass at the cap. Some 4.5 in. housings use a cartridge with an internal gasket or a knife-edge seal at the cap; check what came out and buy the same end style.
Micron rating. Match what the water needs, not the smallest number on the shelf. Sand needs nothing finer than 50; silt needs 5 to 20; only a parasite target justifies 1 micron absolute, and that is a job for NSF/ANSI 53 or 58 equipment (see Penn State's Giardia guidance), not a bargain sediment cartridge. The CDC's distinction between absolute and nominal ratings, explained on the sediment filter guide, applies here: a nominal 5 micron depth cartridge is the right default for silt.
Media type. Melt-blown and string-wound depth cartridges hold the most silt per dollar and are single-use. Pleated cartridges can often be rinsed and reused a couple of times and are the ones to buy when you need an absolute rating; UGA's bulletin notes that pleated cotton/polyester is reusable across a pH of 4 to 9, while pleated paper is single-use. On a well with a spin-down screen ahead of it, a melt-blown 5 micron cartridge is the usual answer.
Brand. Last. Any cartridge of the right dimensions, rating and media from a maker that publishes its ratings will do the job. If a cartridge claims a certification, look for the specific NSF/ANSI 42 particulate listing rather than a generic "meets NSF standards" line; the whole house filter guide explains what the standards mean.
Cleaning a spin-down screen
A spin-down does not get replaced; it gets flushed and, a few times a year, pulled and cleaned.
Routine flush. With the system under pressure, open the flush valve at the bottom of the sump for five to fifteen seconds. Weekly at first, then as the sump dictates. Pipe the flush to a drain.
Full clean. Shut off and relieve pressure as in steps 1 and 2 above. Unscrew the housing, lift out the screen, and scrub it under running water with a soft brush. Stubborn packed grit and iron staining come out with a soak in white vinegar. If the housing is clear and has grown algae (see the spin-down guide on light and algae), wipe it with a weak bleach solution and rinse well. Check the housing O-ring exactly as you would on a cartridge housing, grease it with silicone, and reassemble hand-tight.
Screen replacement. Screens are consumable over years, not months. Replace one when the mesh is torn, the end caps have cracked, or it no longer comes clean. Match the mesh count to what you had unless the jar test says you need coarser or finer; the mesh-to-micron table is on the spin-down page.
When the housing itself should be replaced
Housings are plastic under constant pressure and they do wear out. Replace the housing, not just the cartridge, when:
- The cap or sump is cracked or crazed. Hairline cracks at the threads or around the port bosses show up as a weep that a new O-ring does not fix. A cracked housing can let go all at once.
- The threads are stripped or the sump will not seal hand-tight. Over-tightening with the wrench does this.
- The pressure-relief button leaks or has seized.
- The housing is clear and has gone opaque or yellow. UV and age embrittle clear plastics; a yellowed sump is a brittle sump.
- It is undersized. If you are changing a 10 x 2.5 in. cartridge every month, the housing is the problem. A 20 x 4.5 in. housing in the same spot holds several times the media and drops the schedule to months.
- It has been through a freeze. A housing that froze with water in it has been stressed even if it is not visibly cracked.
When you replace a housing, install it with a pressure-relief button, a three-valve bypass, and a gauge on each side. It makes every future change faster and tells you when the next one is due. Check the maker's pressure and temperature ratings and keep the install out of direct sun.
Before you buy
Replacement is the part of sediment filtration you will do dozens of times, so set it up to be easy.
- Confirm you are filtering the right thing with a water test; a cartridge that loads with red-brown powder every month is an iron problem, not a sediment problem.
- Check housing size against your flow with the sizing tool.
- Compare the ranked spin-down and cartridge systems on the best well water filters page.
- If the housing is cracked, the bypass is missing, or the install is in a pit you would rather not work in, a well water installer near you can rebuild the filter wall in an afternoon.
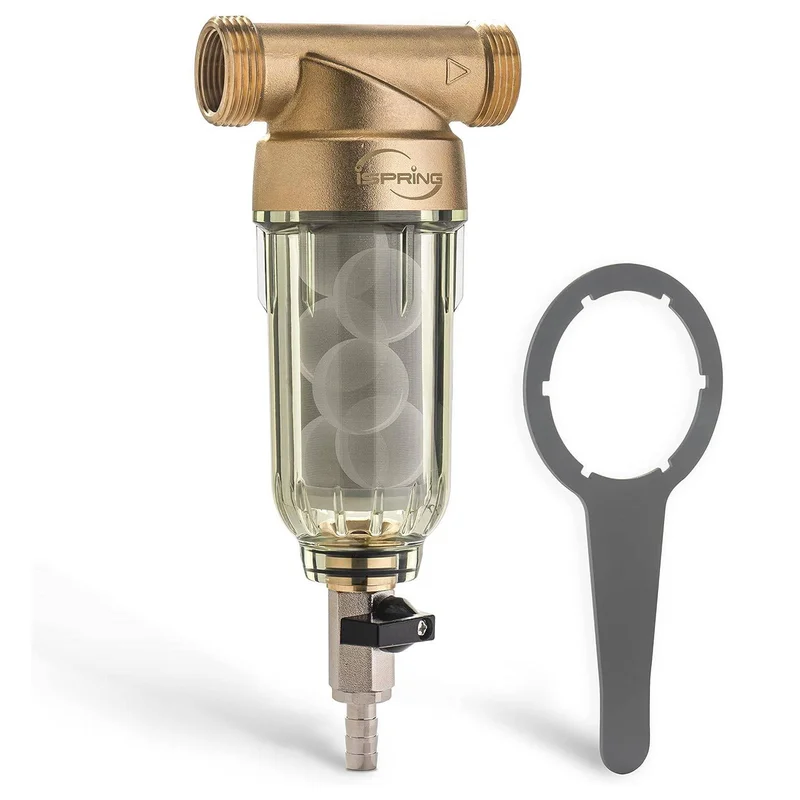 #1
#1iSpring · Sediment filter · $80 at iSpring as of Oct 2026
- Treats
- Sediment
- Flow
- 20 GPM
- Micron
- 50
- Install
- DIY
- Warranty
- 1-year
Spin-down sediment filter plus Siliphos scale-inhibitor cartridge, 20 GPM, 50-micron reusable screen, for $79.99. Siliphos is not a softener and needs replacing every 3-6 months; 100 psi max and 1-year warranty.
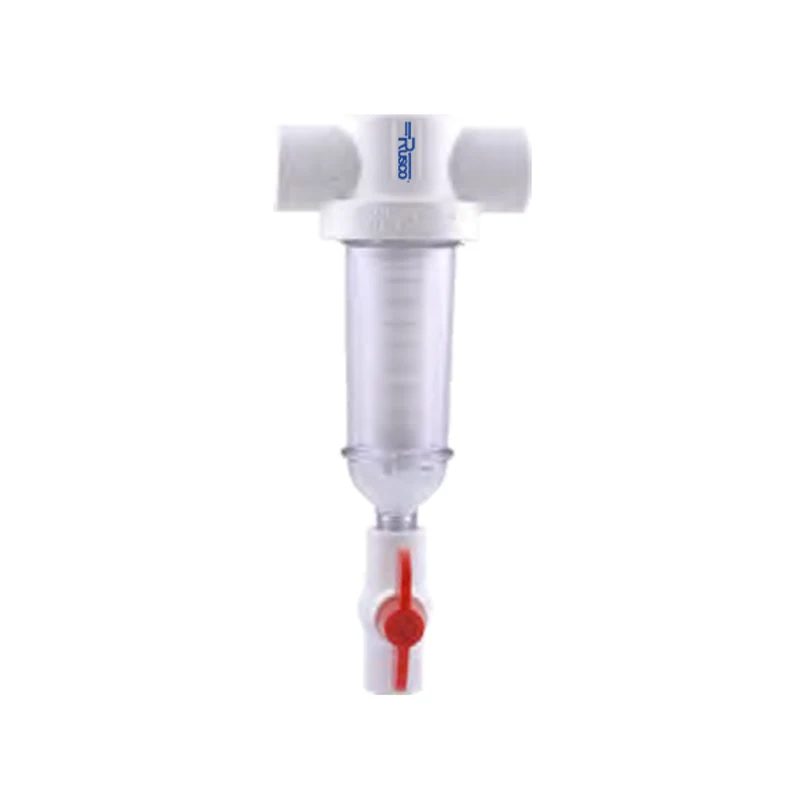 #2
#2Rusco · Sediment filter · $47 at retailer as of Oct 2026
- Treats
- Sediment
- Flow
- 25 GPM
- Micron
- 150
- Install
- DIY or pro
- Warranty
- 1-year
US-made 1 in. spin-down rated 1-25 GPM and 150 psi with flushable polyester or stainless screens from 700 to 15 microns. 12-month warranty, voided by tools; lead-free IAPMO listing only.
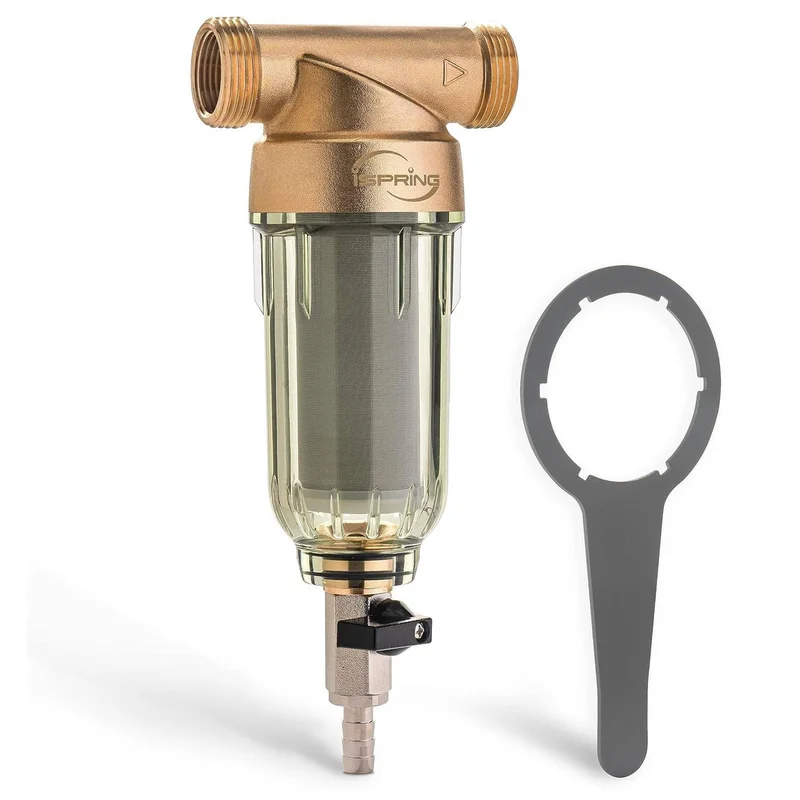 #3
#3iSpring · Sediment filter · $70 at iSpring as of Oct 2026
- Treats
- Sediment
- Flow
- 20 GPM
- Micron
- 50
- Install
- DIY
- Warranty
- 1-year
Flushable 50-micron stainless screen in a clear housing with a 1 in. MNPT / 3/4 in. FNPT brass head, about 20 GPM, for $69.99. No cartridges to buy; too coarse as a final stage and only a 1-year warranty.